In recent years, one of the most popular server-side Python web frameworks is Django. Despite the existence of numerous other Python web frameworks available in the market like Tornado, Sanic. Bottle, CherryPy, FastAPI, Pyramid and others, the two frameworks that engineers are choosing the most are:
1) Django, and
2) Flask
You may have come across applications that use Flask as the backend framework as this lightweight framework provides some good advantages and the numbers are increasing. Still when it comes to a structured approach to backend development (convention over configuration), that many developers prefer, Django has the edge.
Python Installation
In a very simple way, I will walk you through the process of installing Django in your system and help you create your first Django project.
First, If you don’t have Python installed in your system, install it from the official Python website.
Check the installed Python version using the command on the terminal:
python3 --version
OR
python --version
“pip” is a package installer for Python and gets automatically installed with your Python installation. It is a command-line tool used to install Python packages (libraries or modules) from the Python Package Index (PyPI) and other package indexes. To check the installed pip version, run the below command:
pip3 --version
OR
pip --version
Optional step:
Most of the time, developers prefer creating separate “virtual environment” for their Python projects. It is a self-contained directory that will have its own Python interpreter and will have its own installed Python packages, dependencies, and scripts. Its primary purpose is to create an isolated and controlled environment for those Python projects.
You can have the same setup for your Django project and for that, you need to create the virtual environment first.
Run the commands below to install the package “virtualenv”, create a virtual environment named “venv” (you can give any name of your choice) and activate it.
pip3 install virtualenv

virtualenv venv

cd venv

source bin/activate
With the virtual environment being activated now, you can install Django locally to the project, rather than installing it globally.
Django Installation
To install Django for the project, run the command:
pip3 install DjangoIt may take some time and once it is done you can check whether it has been correctly installed or not by running the command:
python3 -m django --versionDjango project creation
Now you are ready to create your first Django project.
To do so, first, decide the name that you want to give to your project. Let’s call it “learningbud” in this context.
Run the below command on the terminal to generate it:
django-admin startproject learningbudA directory structure will be created which will look something like this:
|-- learningbud
|        --learningbud
|        --db.sqlite3
|        --manage.py
|-- venv
You can check if the setup is correct or not by running the command:
python3 manage.py runserverThis will start the development server at port 8000 by default
You can hit the URL http://localhost:8000 on your browser and the below page should open up.
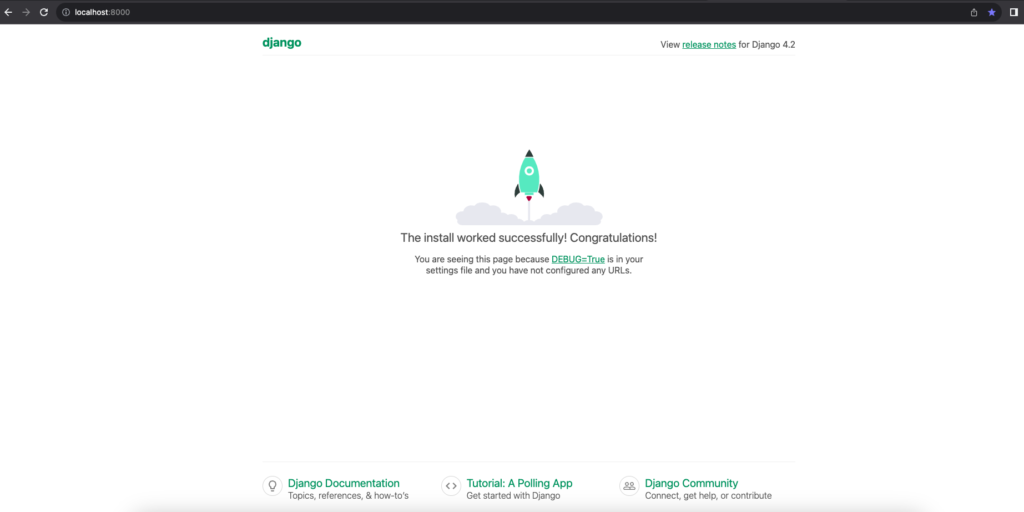
Congrats! you have just successfully set up your first Django project.
If you found this blog simple and easy to implement, you may also love some of my other blogs too:
- Understanding the capabilities of Polars Python implementation
- My multi-faceted approach of learning any engineering concept efficiently
- Why time to time refactoring of your code is important
Keep Learning, and Keep Sharing.