For the first website that I created in my life, I used plain HTML to structure the page and simple CSS to design the look and feel of the website. Since I was doing a lot of web UI automation at that time, I had a fair knowledge of HTML and CSS. So coming up with a web frontend that looked okayish was not a difficult task. But to take my frontend development skills to the next level, I had to learn a frontend framework. The three frameworks that I had to decide upon were:
1) React
2) Angular
3) Vue
To start learning, I had to begin with one of them and for no particular reason, I chose Angular. As I continued to hone my Angular skills, I started liking it more. I am sure the other two frameworks also have their pros, cons and admirable features but I decided to move on with Angular.
In this blog post, I’ll tell you in simple words how you can install Angular and start your first Angular project.
Angular Installation
Before we start the installation process, let’s create a directory named “frontend“. In real projects, the frontends and backends are usually kept in separate directories. This directory segregation makes the development process and future maintenance easier and more convenient.
Let’s open the terminal and move inside the directory
cd frontendInstall homebrew (if you don’t have it) by hitting the command:
/bin/bash -c "$(curl -fsSL https://raw.githubusercontent.com/Homebrew/install/HEAD/install.sh)"Then, install nodejs using brew:
brew install nodeCheck whether nodejs has been correctly installed by running the commands
node -v
npm -v
If correctly installed, the above commands should print out the versions of the “nodejs” and “npm”, confirming that installation was successful. “npm” is “Node Package Manager” – a default package manager for nodejs that is used to install, manage and share packages or libraries of Javascript code written for nodejs.
At this point, using npm, you can either choose to install Angular CLI (Command Line Interface) globally on your system (i.e. you can run it from any directory in your terminal or command prompt)
npm install -g @angular/cliOR
you can choose to install it locally to your current project (i.e. here the Angular CLI will be available only within the context of the current project directory “frontend“)
npm install @angular/cliYou can also choose to install a specific version of Angular. For example, if you would like to install the Angular version “16.2” instead of the latest one (that the previous commands install by default), you can modify the command-to-run like below:
npm install -g @angular/[email protected]OR
npm install @angular/[email protected]Once the installation is complete, you should see a directory named “node_modules” and two files named “package.json” and “package-lock.json” inside the “frontend” directory
|-- frontend
    -- node_modules
    -- package.json
    -- package-lock.json
To confirm whether Angular has been installed successfully, run the below command:
ng versionIf you run it from your terminal, you should see something like below.
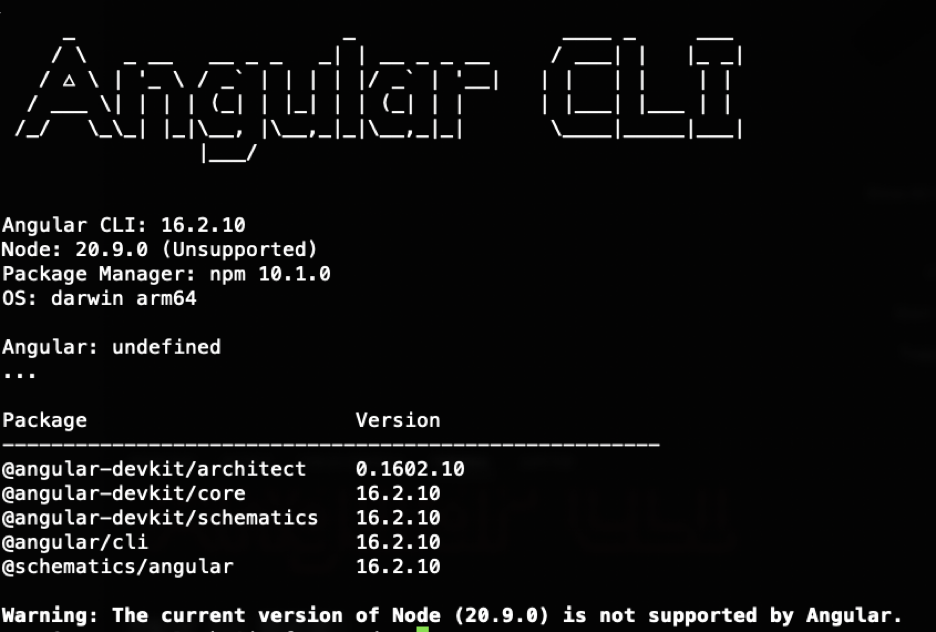
This confirms that Angular has been installed. After this, just have a compatibility check whether the nodejs that you have installed is compatible with the installed Angular or not. This is dynamic and is decided by the Angular team. So you need to check it from the official Angular website.
If the need arises to install a different node version, you need not uninstall the existing nodejs from your system. “nvm” can help you here.
NVM (Node Version Manager) helps us to install and manage multiple versions of nodejs in our system.
Install nvm using the command:
curl -o- https://raw.githubusercontent.com/nvm-sh/nvm/v0.38.0/install.sh | bashClose and reopen your terminal or run the below command to update your shell:
source ~/.bashrc (in case of bash)OR
source ~/.zshrc (in case of zsh)Another way of installing nvm directly is using homebrew
brew install nvmTo verify that nvm is installed, run the command:
nvm --version
OR
nvm -v
To install nodejs using nvm, run:
nvm install nodeTo install a specific node version (e.g. 20.9.0 here) using nvm, run the command:
nvm install 20.9.0To use a specific version (e.g. 20.9.0 here), you need to hit the command:
nvm use 20.9.0This node selection might get changed once you close and open the terminal. So to make this version the default node for new terminal sessions, you have to run the command:
nvm alias default 20.9.0Angular Project creation
To create your first Angular project (let’s call it “homebud“) using the newly installed Angular CLI, from inside the “frontend” directory, run the command:
ng new homebudThis command without any additional flag will create a standard Angular project structure with separate files for templates, styles and component metadata.
Based on your specific needs of structuring the project, you can use additional flags along with it. For example:
ng new homebud --no-standaloneOR
ng new homebud --standalone --inline-template --inline-styleThere are multiple flags available that you can check from their official website
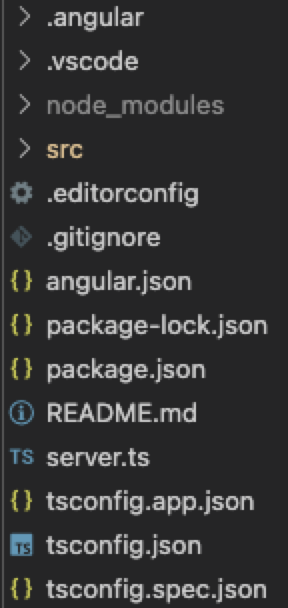
Once your project is created and you open the “homebud” directory, you will see several files and directories present inside it.
From inside the “homebud” directory, run the command
ng serveThis will start the development server (application) at port http://localhost:4200 by default
You can check it by entering this URL in your browser.
Congratulations. You have successfully installed Angular, created your first Angular project and are now ready to start writing some code to create a beautiful frontend.
If you found this blog simple and easy to implement, you may also love some of my other blogs too:
- How does the Internet work – in simple terms
- What happens behind the scenes when a Browser renders a Webpage
- 25 cool Java things you may or may not have come across
Keep Learning, and Keep Sharing.